Installing and Configuring Vim
Installing Vim
Most Unix-like systems like Mac OS X or Linux distributions will come with Vim installed already. However, you may want to upgrade vim for better compatibility or new features. Here, we will cover some of the recommended ways to install vim.
TL;DR: Here is a link to the vim dotfiles recommended for a base configuration.
OS X Installation
One option to install Vim for OS X is to use MacVim, a GUI version of vim. Simply download and install MacVim from its project page's Downloads tab. Installation just requires unarchiving the .tbz file (Archive Utility should be able to do this for you by double clicking on the archive). Finally, drag and drop the MacVim.app bundle into your /Applications/ folder.
Alternatively, you can use brew to install MacVim. If you prefer a terminal-based vim, than you can run the following commands with brew:
1
| |
Windows Installation
You can download the latest version of vim directly from the vim webpage. This includes the binaries for the 32-bit and 64-bit version of Windows.
Alternatively, you can install a command-line version of vim through Cygwin, a Unix-like environment and CLI for Windows. First install Cygwin by downloading the setup.exe file. Run the setup.exe file with your preferred installation settings. Once reaching the "Select Packages" screen, scroll down to the Editors node and expand it. Finally, find vim in the list and change the Skip option to Install. Next, just finish the install ation.
Linux Installation
To install or upgrade vim on a Linux distribution, use the package manager of your choice (e.g. apt, yum, pacman, etc.). Typically the command will look something like:
1
| |
Configuring Vim
By default, the start of your vim configuration is found in $HOME/.vimrc; additional plugins, settings, etc. are found in $HOME/.vim. On Windows, $HOME is going to be %userprofile%, so something akin to C:\Users\Your Name\, and the .vim folder will be called vimfiles. This is due to the fact that NTFS directories are not supposed to start with periods.
We have compiled a base .vimrc file and relevant plugins. You can download these settings files here. Simply place them in your $HOME directory as described above. NOTE: If you already use vim and have existing dot files, you will have to manually merge the .vimrc.
This configuration uses Pathogen to load bundled plugins, so you should be able to integrate this with any existing plugins relatively easily.
Congratulations
If you've reached this point, you've now successfully installed and configured Vim. It should look something like this:
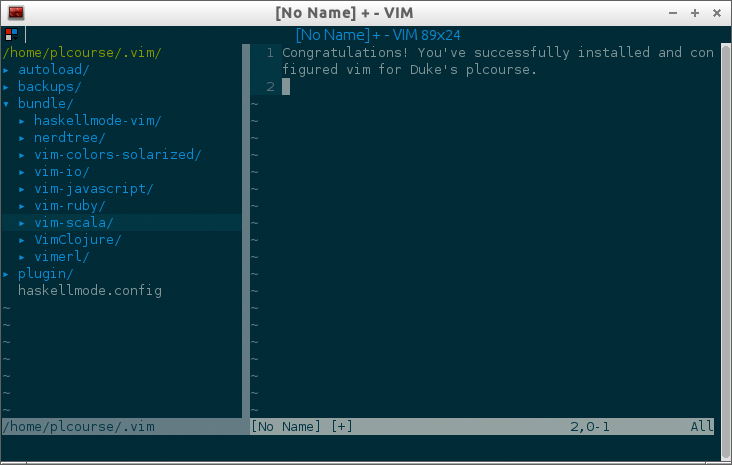
Note: The NERDTree plugin has been opened by issuing :NERDTreeToggle
Comments